Description:
Explore the first part of a comprehensive tutorial on ZBrush auto-rigging and posing using Character Creator. Learn to install Reallusion Hub and ZBrush Pose Tools plugin, resize characters to real-world units, and utilize AccuRIG for effortless character rigging. Master the process of sending poses back to ZBrush, setting up GoZ, and managing accessories. Gain insights into creating guides, generating skeletons, binding skin, and editing poses in Character Creator. Perfect for 3D artists looking to streamline their workflow between ZBrush and Character Creator.
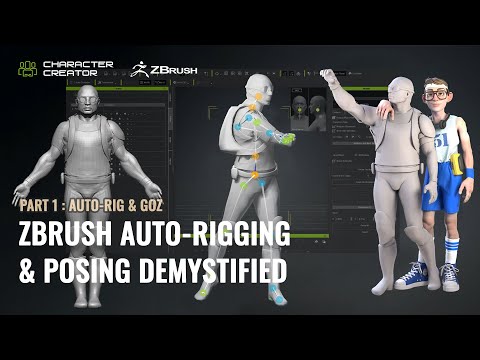
ZBrush Auto-Rigging and Posing with Character Creator - Part 1: Auto-Rig and GoZ
Add to list
#Art & Design
#Visual Arts
#Digital Art
#ZBrush
#Animation
#3D Design
#3d Modeling
#Character Animation
#AccuRig
#Programming
#Game Development
#Game Design
#Character Creator
#Programming Languages
#Go
#GoZ
#3d Animation
#Auto-rigging