Description:
Save Big on Coursera Plus. 7,000+ courses at $160 off. Limited Time Only!
Grab it
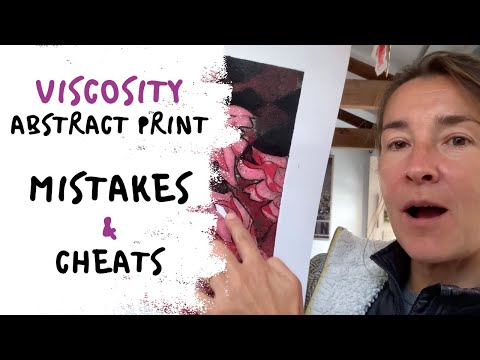
Learn the intricate process of creating a viscosity collagraph abstract print in this detailed 54-minute tutorial. Explore the technique of using inks with different viscosities to produce a range of tones and shades. Follow along as the instructor demonstrates how to prepare the plate, apply carborundum for dark areas, create mid-tones, and add patterns and raised areas. Observe the inking process using sepia, Madder Lake, and Zinc White, and learn how to properly wipe and roll the inks. Discover common mistakes to avoid and gain valuable insights on how to rescue a print when things don't go as planned. By the end of this comprehensive guide, master the art of viscosity printing and learn a clever trick to salvage an almost perfect print.
Viscosity Collagraph Abstract Print - How to Correct Mistakes and a Cheat
Add to list