Description:
Learn how to transform low-resolution 2D images into high-quality 3D renders using entirely open-source software in this 16-minute tutorial. Follow a step-by-step process to convert 2D images to vector curves for use in Blender, an efficient workflow for quickly adding geometry to scenes without extensive modeling. Explore techniques for importing images to Inkscape, tracing bitmaps, transferring SVG files to Blender, adding thickness to curve objects, and enhancing scenes with lighting, textures, materials, and reflections. Discover how to fine-tune camera settings and render the final image, resulting in a polished 3D representation of the original 2D artwork.
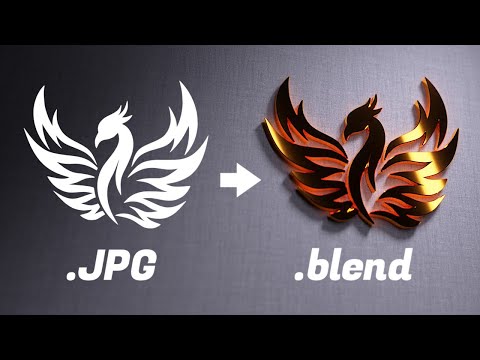
Easy 2D Image to 3D Render Workflow Using Open Source Software
Add to list
#Art & Design
#Visual Arts
#3D Design
#Blender
#Digital Art
#Inkscape
#3d Modeling
#3D Rendering
#Design & Creativity
#Graphic Design
#Vector Graphics