Description:
Learn to pose high-resolution ZBrush models in Character Creator for 3D printing in this comprehensive tutorial. Master file consistency techniques, transfer low-resolution meshes, pose accessories and clothing, adjust expressions, send changes back to ZBrush, and prepare models for printing. Explore the power of Character Creator's posing and animation tools to customize detailed ZBrush sculpts. Cover essential topics including file overview, subtool merging, UV mapping for cloth meshes, subdivision techniques for accessories and clothing, GoZ integration, weight transfer, physics simulation, pose editing, facial expression adjustments, and final preparation for 3D printing. Gain valuable insights into creating a seamless workflow between ZBrush and Character Creator for producing print-ready 3D character models.
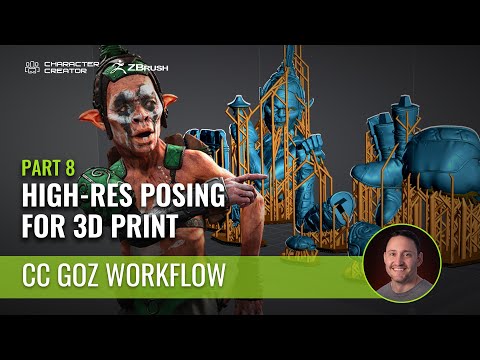
Seamless Workflow for 3D Printing - Character Creator ZBrush Pipeline Tutorial - Part 8
Add to list
#Art & Design
#Visual Arts
#Digital Art
#ZBrush
#Digital Media
#3D Printing
#3D Design
#3d Modeling
#UV Mapping
#Mesh Editing
#Programming
#Game Development
#Game Design
#Character Creator