Description:
Learn watercolor portrait painting and the dripping technique in this 22-minute tutorial. Explore the process of creating a stunning portrait, from planning lights and shadows to experimenting with color choices. Master essential techniques such as working from light to dark, lifting color after mistakes, and adding multiple layers. Discover the importance of patience when waiting for areas to dry and how to work on other parts of the painting in the meantime. Gain confidence in experimenting with abstract elements and learn how to incorporate the dripping technique effectively. Pick up valuable tips on composition, detailing eyes, and using brushes versus pencils for intricate work. Finish with a speedpaint demonstration to see the entire process come together.
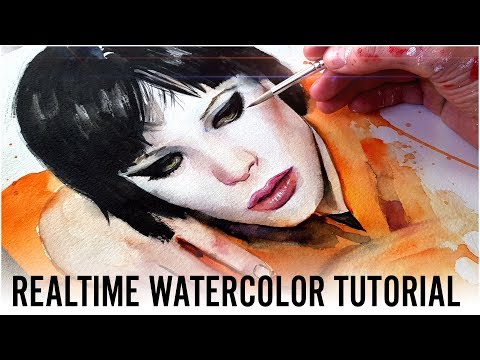
Watercolor Portrait and Dripping Technique
Add to list
#Art & Design
#Visual Arts
#Painting
#Portrait Painting
#Design & Creativity
#Graphic Design
#Color Theory