Description:
Explore the world of Raspberry Pi Pico, MicroPython, 7-segment displays, and 74hc595 shift registers in this comprehensive video tutorial. Learn how to design and 3D print a project inspired by the Back to the Future time circuit using Fusion 360. Dive into the fundamentals of LEDs, 7-segment displays, and their pin-outs. Master bit shifting techniques and understand the workings of shift registers. Discover how to wire up the Pico and implement the project with MicroPython code. Follow along with a live demonstration and gain insights into future steps for expanding your skills. Perfect for electronics enthusiasts and makers looking to combine hardware and software in exciting projects.
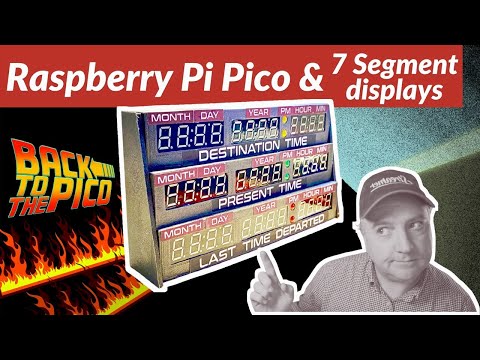
Raspberry Pi Pico, 7 Segment Displays and 74HC595 Shift Registers
Add to list
#Computer Science
#Internet of Things
#Raspberry Pi
#Programming
#Art & Design
#Digital Media
#3D Printing
#Programming Languages
#Python
#MicroPython
#Engineering
#Electronics
#Raspberry Pi Pico