Description:
Save Big on Coursera Plus. 7,000+ courses at $160 off. Limited Time Only!
Grab it
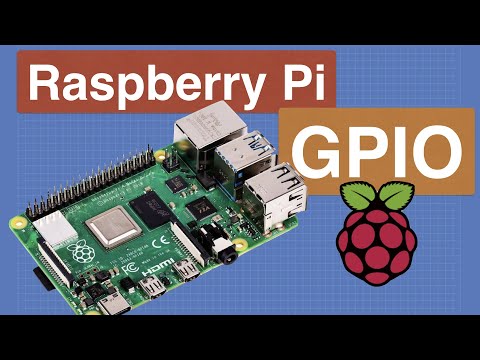
Explore the Raspberry Pi GPIO connector and gpiozero library in this comprehensive video tutorial. Learn to interface with LEDs, switches, and even create a simple camera for your Pi to take selfies. Begin with an introduction comparing Raspberry Pi to Arduino, then dive into selecting the right Pi model and essential GPIO prototyping accessories. Discover the GPIO pinout and the powerful gpiozero library before setting up your Raspberry Pi and connecting components. Compare Arduino and Pi blinking experiments, then progress to LED and button projects. Conclude by integrating a camera module and controlling it with Python. Gain practical skills for expanding your Pi's capabilities and interfacing with external devices, setting the foundation for more complex GPIO projects in the future.

Raspberry Pi GPIO - Getting Started with Gpiozero
Add to list
#Computer Science
#Internet of Things
#Raspberry Pi
#Engineering
#Electronics
#Art & Design
#Visual Arts
#Photography
#Camera Control
#Electrical Engineering
#Microcontrollers
#GPIOs