Valley-fold the top left corner to the crease intersection
8
Petal-fold both front and rear to form a Bird Base
9
Release some paper from the interior
10
Spread the paper to the sides Do not repeat behind
11
Fold the flap down
12
Fold the two flaps upward
13
Please note the reference points
14
Bring an internal layer to the front as shown
15
Bring 2 internal layers from the bottom to the front and back
16
Pull the corner
17
Open each leg as shown
18
Mountain-fold the top half of the small square
19
Form a Square Base
20
Petal-fold the near point
21
Petal-fold the next pair of flaps too
22
Find a hidden corner
23
Carefully release and pull out the trapped corner
24
Use existing creases
25
Mountain fold the thick flap behind
26
Pull out a double layer of paper
27
Repeat on the next layer up. tucking the edges into pockets
28
Fold two points up
29
Fold one layer on each side to the center
30
Repeat on the right side
31
Open the edges as shown The model will not lie flat
32
Fold inside
33
Crimp the body
34
Mountain-fold a straight line Valley-fold a curved line
35
Crimp the head
36
Crimp the beak
37
Pleat the tail
38
Double-rabbit-ear the legs
39
Spread the toes
Description:
Learn to create an intricate origami songbird designed by Robert J. Lang in this 43-minute tutorial video. Follow step-by-step instructions to fold a three-dimensional bird with an open beak, detailed fingers, and the ability to stand on two legs. Master techniques such as petal-folding, crimping, and pleating to bring this complex model to life using a 20cm x 20cm tissue foil paper. Discover how to effectively utilize both colors of the paper to enhance the bird's appearance. Gain insights into advanced origami techniques and design principles as you craft this impressive model from the book "Origami Design Secrets."
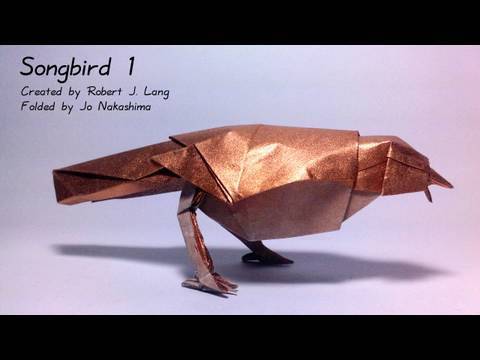