Главная
Study mode:
on
1
Intro
2
Start with a rectangle 7X3 (my paper is 21cm x 9cm)
3
Fold in half and make a pinch
4
Fold the top and the bottom edges to the center
5
The last part is just 2/3 of a square
6
Fold this rectangle in half to find 1/3 of a square
7
Divide all the paper into 14 parts
8
Fold into thirds horizontally. You can use this intersection as a reference point
9
Fold three lines up
10
Leave a little space between the edge and the crease
11
Fold along the diagonal of the little square to make the arm
12
Open the near layer a little
13
Fold this line in half
14
Fold the diagonals of the middle square
15
Fold a little waterbomb base
16
Open the model a little and fold the raw edge inside
17
Fold down the top edge
18
there is no point of reference
19
Shape the hair
20
Pleat fold to make some points
21
Try to make a different hairstyle!
22
Finished!
Description:
Learn to create an origami groom figure in this low-intermediate level tutorial. Follow step-by-step instructions to fold a 9cm x 21cm rectangular paper into a detailed groom model, complete with a suit and styled hair. Discover techniques for shaping the arms, creating pleats for the hair, and adding finishing touches. Explore creative variations for hairstyles and pair the groom with a matching bride figure (instructions provided separately). Perfect for wedding-themed origami projects or as a standalone decorative piece.
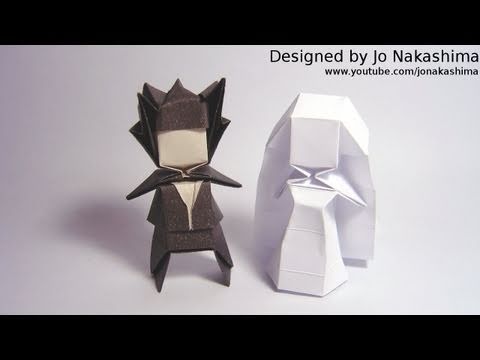
Origami Groom - Jo Nakashima

Origami with Jo Nakashima
Add to list