Description:
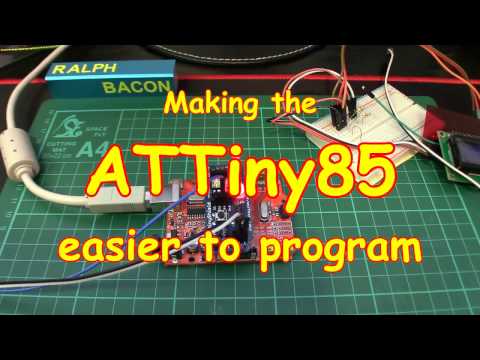
Learn how to easily debug ATTiny85 projects by connecting the microcontroller to the Arduino IDE's serial monitor. Explore techniques for displaying Serial.println statements to troubleshoot code issues. Discover the process of implementing software serial communication, allowing for effective debugging without direct USB connectivity. Gain insights into using physical Pin 1 (P5) as a standard GPIO pin instead of a reset pin. Follow along with practical demonstrations and tips to enhance your ATTiny85 programming skills and streamline your debugging process.

Making the ATTiny85 Easier to Program
Add to list
#Engineering
#Electrical Engineering
#Embedded Systems
#Microcontroller Programming
#Computer Science
#Memory Management
#Internet of Things
#Arduino
#Arduino IDE