Description:
Learn how to repair the power button on your electric scooter in this 20-minute tutorial video from Electronics Repair School. Follow step-by-step instructions for removing the button, soldering wires, testing connections, and reassembling the scooter. Gain insights on proper cleaning techniques, waterproofing methods, and modulation for optimal performance. Utilize recommended tools like a USB power meter, thermal camera, hot air station, and electric screwdriver to complete the repair effectively. Join the Electronics Repair School community for additional resources and support in electronics repair.
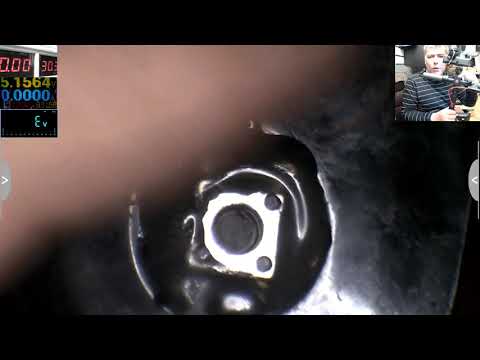
How You Can Fix Your Electric Scooter Power Button
Add to list