Description:
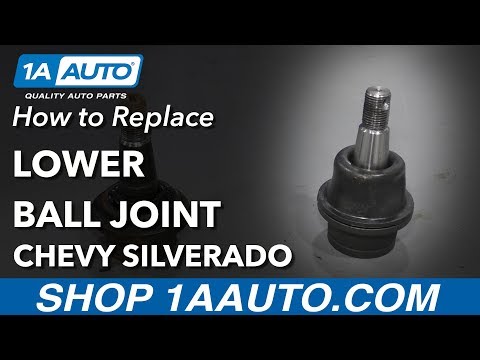
Learn how to replace a ball joint on a Chevy Silverado 1500 (1999-2015) in this comprehensive 26-minute tutorial video. Follow step-by-step instructions to remove the wheel, brake caliper, rotor, tie rod end, and knuckle before tackling the lower ball joint replacement. Master the process of installing the new ball joint, reassembling components, and properly greasing the new part. Gain valuable insights into the tools required and techniques used by professional mechanics for this common repair. Applicable to multiple Silverado model years, this guide equips DIY enthusiasts with the knowledge to confidently perform this essential maintenance task.

How to Replace Ball Joint - Chevy Silverado
Add to list