Главная
Study mode:
on
1
What is this tutorial about
2
Starting a new project
3
Creating ESP32 symbol
4
100nF symbol
5
Connecting ESP32
6
1uF symbol
7
10k resistor
8
Creating and connecting buttons
9
27R resistor
10
USB-C connector
11
5k1 resistor
12
ESD protection
13
3 pin jumper header
14
Jumper cap
15
5V to 3V3 regulator
16
USB to UART
17
4u7 capacitor
18
0R resistor
19
4k7 resistor
20
Transistor
21
Connecting regulator
22
Headers
23
2 pin jumper header
24
Green LED
25
1k resistor
26
Red LED
27
Annotating schematic
28
Transistor footprint
29
FTDI footprint
30
Regulator footprint
31
USB-C footprint
32
Button footprint
33
Resistor footprint
34
Capacitor footprint
35
24 pin header footprint
36
3 pin jumper header footprint
37
2 pin jumper header footprint
38
ESD protection footprint
39
ESP32 footprint
40
Jumper cap footprint
41
Green LED footprint
42
Red LED footprint
43
Importing schematic to PCB
44
Drawing board outline
45
Big component placement
46
Updating footprint of a component on PCB
47
Creating layer sets
48
Placing small components
49
Customize toolbar
50
Set net color
51
Setting up rules
52
PCB Layout - ESP32
53
Setting up stackup
54
PCB Layout - FTDI
55
Room rule for smaller clearance
56
Impedance and Differential pairs rule
57
Routing USB
58
Changing rule priority
59
Run DRC
60
Checking and improving layout
61
Drawing polygons
62
Thermal relief rule for plane
63
Plane pullback distance
64
Tenting VIAs
65
Adding board shape/outline layer
66
Improving silkscreen / overlay layers
67
Fixing errors on overlay layer
68
Placing gold logo
69
Updating tracks to 50 OHMS - Custom filter
70
Generating outputs for manufacturing
71
Creating variants
72
Print board 1:1
73
Generating Gerber files and Drill files
74
Generating Pick & Place file
75
Generating Bill of Materials BOM
76
Ordering boards
77
Ordering missing components
78
Download project on FEDVEL github
79
Confirming and checking production
80
Manufacturing our board
81
Unpacking the boards and components
82
Soldering down missing components
83
Measuring and connecting to power
84
Programming our board
85
Wifi example
86
Testing second USB-C
87
Thank you
Description:
Learn how to create a custom ESP32 board using Altium Designer in this comprehensive 8-hour tutorial. Master the entire process from schematic design to PCB layout, manufacturing, and programming. Begin by creating symbols and footprints for various components, including the ESP32, capacitors, resistors, and connectors. Progress through connecting components, annotating the schematic, and importing it to PCB. Dive into PCB layout techniques, including component placement, layer setup, and routing. Explore advanced topics such as impedance control, differential pairs, and thermal management. Generate manufacturing outputs, order components and PCBs, and assemble the final product. Conclude with programming and testing the custom ESP32 board, including a Wi-Fi example. Gain hands-on experience in hardware design, from concept to functional prototype.

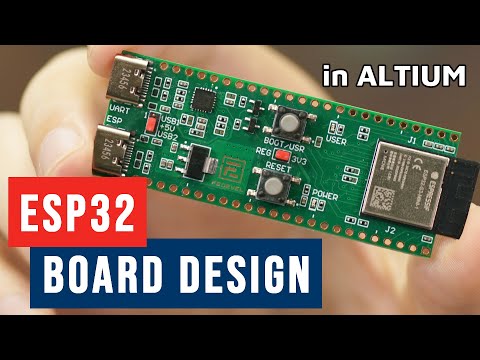
Custom ESP32 Board Design in Altium Designer - Full Tutorial

Robert Feranec
Add to list