Description:
Learn how to create a custom ESP32 board from scratch in this comprehensive 3-hour tutorial. Follow along as the instructor guides you through the entire process, from drawing schematics and PCB layout to manufacturing and programming your board. Begin by setting up a new project in EasyEDA and adding components like ESP32, CP2102N, AMS1117-3.3, and USB connectors. Master schematic drawing techniques, connect various components, and learn to annotate and fix errors. Transition to PCB layout, including component placement, routing, and polygon drawing. Explore the ordering process for PCB manufacturing and assembly, and finish with programming examples such as LED blinking and WiFi control. Gain practical knowledge in electronic design, PCB fabrication, and ESP32 programming through this hands-on tutorial.
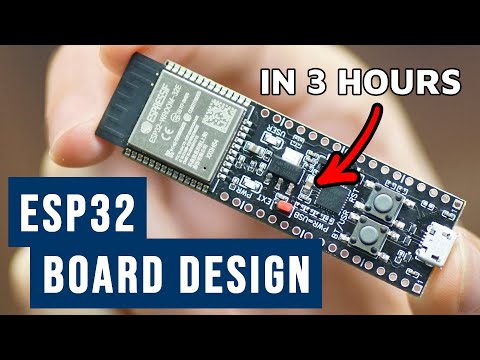
How to Make Custom ESP32 Board - Full Tutorial
Add to list
#Engineering
#Electrical Engineering
#Microcontrollers
#ESP32
#Programming
#Circuits
#PCB Design
#Electronics
#Embedded Systems
#Microcontroller Programming
#PCB Layout
#Engineering Design
#Schematic Drawings