Description:
Save Big on Coursera Plus. 7,000+ courses at $160 off. Limited Time Only!
Grab it
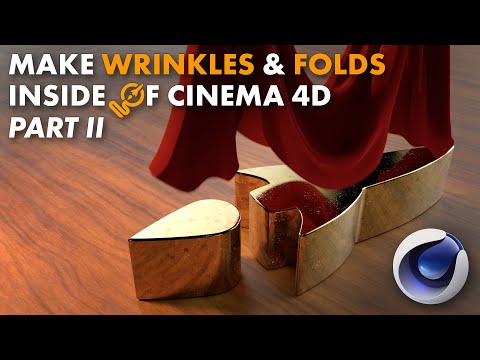
Dive into the second part of a comprehensive Cinema 4D tutorial focused on creating and controlling wrinkles for a product reveal. Learn practical techniques for preparing splines from Illustrator, setting up softbody simulations, and using invisible objects to block gaps. Master the art of matching cloth to object shapes and discover a clever trick using spheres to enhance simulations. Explore the process of adding springs to create dynamic cloth movements, and finish by baking and exporting to Alembic. Follow along with time-stamped sections covering each step of the 55-minute tutorial, from initial setup to final rendering.

Creating and Controlling Wrinkles in Cinema 4D - Product Reveal
Add to list
#Art & Design
#Visual Arts
#3D Design
#Cinema 4D
#Computer Science
#Computer Graphics
#Cloth Simulation