Description:
Save Big on Coursera Plus. 7,000+ courses at $160 off. Limited Time Only!
Grab it
Build a full-stack expense tracker application using Next.js Server Actions, TypeScript, Prisma, Neon, and Clerk. Learn to set up a Neon database, create Prisma models, implement Clerk authentication, and develop components for adding, displaying, and deleting transactions. Master server-side actions for user management, transaction handling, and balance calculations. Explore advanced features like React Toastify for notifications, utility functions for data formatting, and deploy the finished application to Vercel.
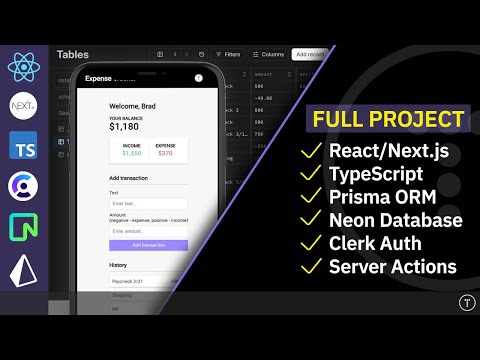
Build an Expense Tracker with Next.js, TypeScript, Prisma, Neon, and Clerk
Add to list
#Programming
#Programming Languages
#Javascript
#React
#Next.js
#Typescript
#Computer Science
#Database Management
#Web Development
#Full Stack Development
#Business
#Finance
#Personal Finance
#Expense Tracking
#Node.Js
#Prisma
#Server Actions
#Clerk