Description:
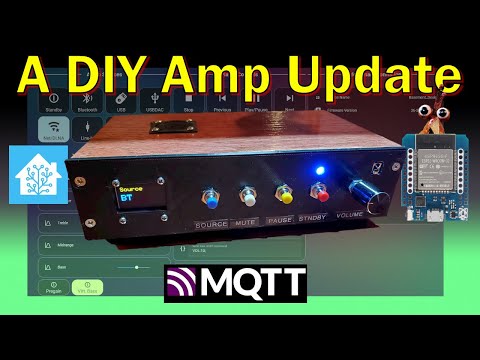
Learn how to enhance an Arylic Up2Stream Amp with an ESP32, MQTT control, and Home Assistant integration in this comprehensive video tutorial. Follow along as the project is built from the ground up, including adding a rotary volume knob, local push buttons, and an OLED display. Explore the step-by-step process of connecting components, building JST connectors, wiring on a breadboard, designing and constructing an enclosure, and troubleshooting initial power-up issues. Discover modular design options and dive into MQTT and Home Assistant integrations for advanced control. Gain insights on parts selection, cost considerations, and potential customizations to tailor the project to your needs.

Adding an ESP32, MQTT and More to the Arylic Amp
Add to list
#Engineering
#Electrical Engineering
#Microcontrollers
#ESP32
#Computer Science
#Internet of Things
#MQTT
#Electronics
#Smart Homes
#Home Automation
#Home Assistant