Description:
Learn how to create a beautiful 3D origami pink parrot in this detailed 29-minute tutorial. Begin by gathering 247 pink, 4 black, 30 white, and 38 green paper pieces. Follow step-by-step instructions to construct the parrot's body, starting with the first three rows and progressing through the tenth row. Create intricate details such as the eyes, beak, and feathers using specific color combinations. Craft the wings and tail separately before attaching them to the body. Finally, construct a stand for your parrot. Throughout the tutorial, receive helpful tips on piece placement and assembly techniques. By the end, you'll have crafted a stunning 3D origami pink parrot, perfect for display or gifting.
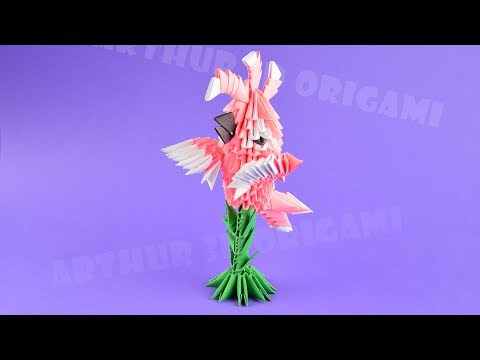
3D Origami Parrot from Paper - How to Make a Pink Parrot
Add to list