Description:
Learn advanced 3D character creation techniques in this comprehensive tutorial focusing on posing and accessorizing characters using ZBrush and Character Creator. Explore essential workflows including merging subtools, managing UVs for cloth meshes, and distinguishing between accessory and clothing subdivision. Master the process of transferring assets between ZBrush and Character Creator using GoZ, and discover how to properly position accessories, transfer skin weights, and create weight maps for realistic cloth physics. Dive into character posing, facial expression editing, and dynamic cloth simulation. Gain valuable insights on preparing 3D models for printing, making this tutorial an indispensable resource for 3D artists looking to elevate their character creation skills.
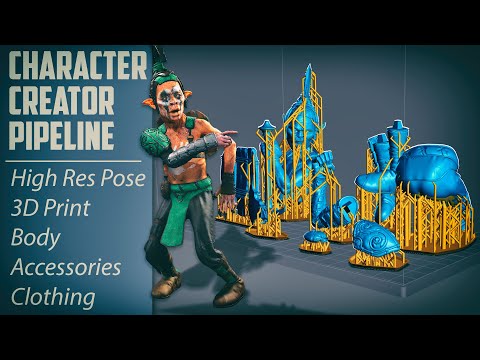
3D Printing Character Creation - Posing, Accessories, and Clothing Workflow
Add to list
#Art & Design
#Visual Arts
#Digital Art
#ZBrush
#3D Design
#3d Modeling
#UV Mapping
#Fashion Design
#Clothing Design
#3D Character Creation
#Subdivision Modeling
#Programming
#Game Development
#Game Design
#Character Creator
#Programming Languages
#Go
#GoZ