Description:
Dive into a comprehensive tutorial on controlling up to 16 servos using a Raspberry Pi Pico, PCA9685 board, and MicroPython for robotics projects. Learn about I2C communication, troubleshooting techniques, and number bases. Explore the intricacies of servo control, from soldering header pins to understanding servo.py and pca9685.py code. Gain practical experience with hands-on demonstrations, including moving servos and building Charlie the Cricket Robot. Master essential skills like I2C bus scanning, error resolution, and integrating multiple components for advanced robotics applications.
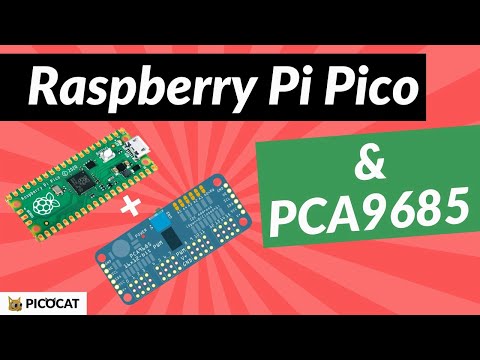
Using the Raspberry Pi Pico, PCA9685 and MicroPython for Robotics
Add to list
#Computer Science
#Internet of Things
#Raspberry Pi
#Programming
#Programming Languages
#Python
#MicroPython
0:00 / 0:00