Description:
Watch the final part of a pottery-making series that demonstrates the glazing and firing process for a large stoneware, angular lidded jar. Follow along as the potter performs a bisque firing, waxes and glazes the pieces, and conducts a reduction firing to 1290ºC in a gas kiln. Learn about packing electric and gas kilns, using pyrometric cones, and finishing techniques like sanding bases and applying valve lapping paste to lids. Gain insights into the importance of reduction firing for achieving specific results and see the completed jar at the end of this informative 21-minute video.
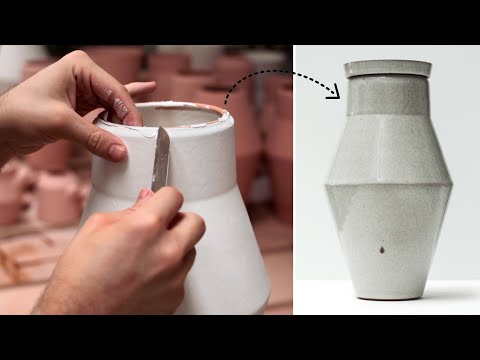
Making a Pottery Wheel Thrown Jar: Glazing and Firing - Part 3
Add to list