Главная
Study mode:
on
1
- Introduction
2
- Wedging clay for teapot bodies
3
- Throwing teapot body
4
- Preparing clay for lids
5
- Reversing measured callipers
6
- Throwing lid
7
- Throwing spout
8
- Unwrapping components from drying overnight
9
- Trimming the teapot body and lid
10
- Demonstrating how the lid's hole functions
11
- Attaching the spout to the teapot body
12
- Pulling and attaching the handle
13
- Carving the handle and quality control
14
- Packing the electric kiln for a bisque firing to 1000ºc
15
- Unpacking the electric kiln
16
- Waxing the teapot
17
- Mixing up glaze
18
- Glazing the teapot
19
- Cleaning up the glazed lid and body
20
- Preparing the waddings for the lid
21
- Packing the gas kiln
22
- Firing the gas kiln to 1290ºc, cone ten
23
- Unpacking the gas kiln
24
- Sanding the base of the teapot
25
- Removing the waddings
26
- Using valve grinding paste to smooth the join
27
- Making a cup of of tea, earl grey
28
- The finished teapot
Description:
Learn the complete process of crafting a stoneware straight-sided, stepped teapot in this comprehensive 50-minute video tutorial. Follow along as every step is meticulously demonstrated, from wedging clay and throwing the body to attaching spouts and handles. Discover techniques for trimming, glazing, and firing in both electric and gas kilns. Gain insights into quality control, lid functionality, and finishing touches like sanding and smoothing joins. Perfect for pottery enthusiasts looking to master the art of teapot making, this detailed guide culminates in the creation of a beautiful, functional piece ready for brewing a cup of Earl Grey.

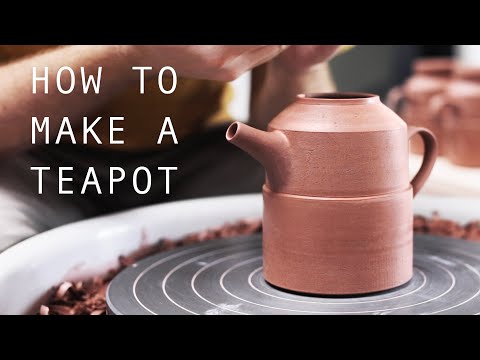
How to Make a Pottery Teapot from Start to Finish

Florian Gadsby
Add to list
0:00 / 0:00