Description:
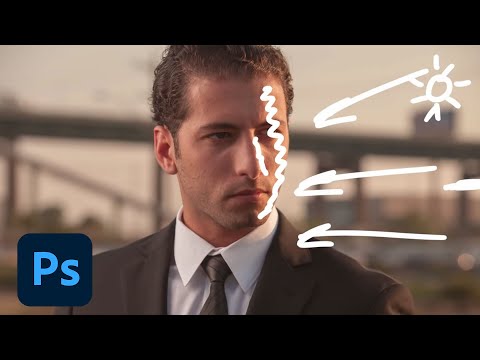
Dive into the first part of a comprehensive two-day tutorial on creating cinematic images in Photoshop with photographer Nathaniel Dodson. Learn advanced photo editing techniques to transform ordinary photos into stunning cinematic compositions. Master complex selections, environmental lighting, subject retouching, and digital re-lighting. Explore topics such as skin blemish removal, color grading, blend modes, sky replacement, perspective editing, and color channel manipulation. Gain insights into what makes an image truly cinematic and discover Nathaniel's sources of inspiration. Follow along as he demonstrates practical skills like using the pen tool, creating gradient fills, applying LUTs, and adding atmospheric effects like field blur and rim lighting.

Creating Cinematic Images in Photoshop - Part 1
Add to list
#Art & Design
#Digital Media
#Adobe
#Adobe Photoshop
#Photo Editing
#Video Editing
#Color Grading
#Visual Arts
#Film & Theatre
#Filmmaking
#Film Production
#Visual Effects
#Compositing
#Photography
#Portrait Photography
#Portrait Retouching
0:00 / 0:00