Description:
Learn how to create a stunning 3D patterned end grain cutting board using maple, walnut, and cherry hardwood in this detailed woodworking tutorial. Follow along as the intricate process unfolds, from milling lumber and executing multiple glue-ups to crafting precise strips and assembling the eye-catching pattern. Master techniques for flattening, squaring, and adding finishing touches like finger holds and edge chamfers. Discover the secrets to achieving a professional finish through careful sanding, branding, and applying oil and wax. By the end of this 28-minute video, you'll have the knowledge to craft your own visually striking and functional cutting board that showcases the beauty of end grain wood patterns.
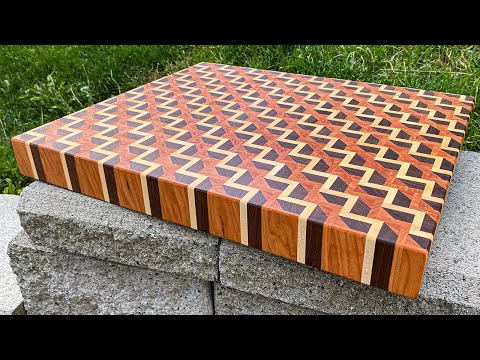
How It's Made - 3D Patterned End Grain Cutting Board
Add to list
0:00 / 0:00