Description:
Watch a comprehensive woodworking tutorial on creating two "brick wall" style end grain cutting boards using reclaimed oak from old barrels and walnut. Learn the step-by-step process of milling, gluing, sanding, and finishing these 16" x 20" x 2" boards. Follow along as the instructor explains techniques for panel glue-ups, crosscutting end grain strips, flattening, adding juice grooves and fingerholds, and applying oil and wax. Gain insights into using oak in cutting boards and the philosophy behind the craft. The video includes timestamps for easy navigation through specific parts of the process, from initial milling to final touches.
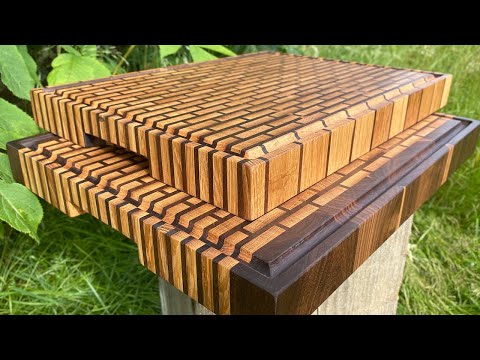
Reclaimed Oak and Walnut Cutting Boards
Add to list
0:00 / 0:00