Description:
Learn how to build and use a versatile 6-in-1 trim router jig in this comprehensive woodworking tutorial video. Master techniques for freehand routing, creating inlays, edge-banding, cutting mortises, dados, and circles. Follow step-by-step instructions on applying templates, preparing materials, drilling holes, routing grooves, and assembling the jig. Discover how to customize the jig for your specific router and extend its capabilities. Gain valuable insights into various woodworking applications and improve your routing skills with this multi-functional tool.
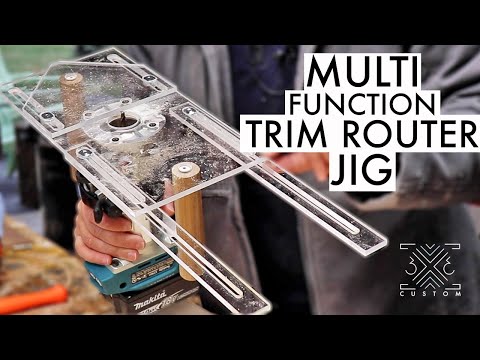
Trim Router Jig - Freehand Routing, Inlays, Edge-Banding, Mortises, Dados, Circles & More
Add to list
0:00 / 0:00