Description:
Discover the powerful Liquify tool for portrait retouching in Photoshop in this comprehensive 25-minute video tutorial. Explore basic tools in-depth and advanced features like Face-Aware Liquify through four practical examples. Learn essential techniques for various retouching situations, including correcting portraits, filling corner gaps, and adjusting eyes. Gain valuable insights on when to apply Liquify and master the most crucial tips for achieving professional results. Follow along with downloadable sample images and timestamps for easy navigation through different sections of the tutorial.
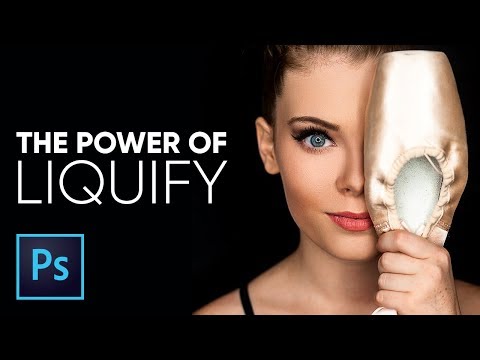
The Amazing Power of Liquify for Portrait Retouching in Photoshop
Add to list
#Art & Design
#Design & Creativity
#Graphic Design
#Image Editing
#Liquify Tool
#Visual Arts
#Photography
#Portrait Photography
#Portrait Retouching
0:00 / 0:00